A PRACTICAL GUIDE
Remove the AI look.
Keep the image.
Soften digital sharpness and add subtle camera texture. Try our free online AI look remover with no signup.
Diagnose the finish before changing it.
Compare the subject, edges and shadows separately. If the scene is plausible but colours are loud and every edge is crisp, a camera finish may help. If a hand, reflection or sign is wrong, fix the source first; grain will not conceal a structural error.
Perfect edges everywhere
Uniform crispness can make a scene feel digitally rendered. Natural mode blends a small amount of optical softness into the image, with a little more softness near the corners.
Shadows without texture
Sensor noise is rarely evenly distributed in a photograph. This simulation varies the grain with brightness, adding more character to shadow areas while keeping the effect restrained.
How to judge your result
Start around 60–75% intensity and compare at the size you plan to use. If you notice the effect before you notice the subject, turn the intensity down.
Read the portrait comparison.
The example below uses our generated portrait at 70% intensity. Colours become quieter, highlights less harsh and shadow texture more visible. The portrait intentionally exaggerates digital polish. Look at the hair and background as well as the face; the effect is applied globally.
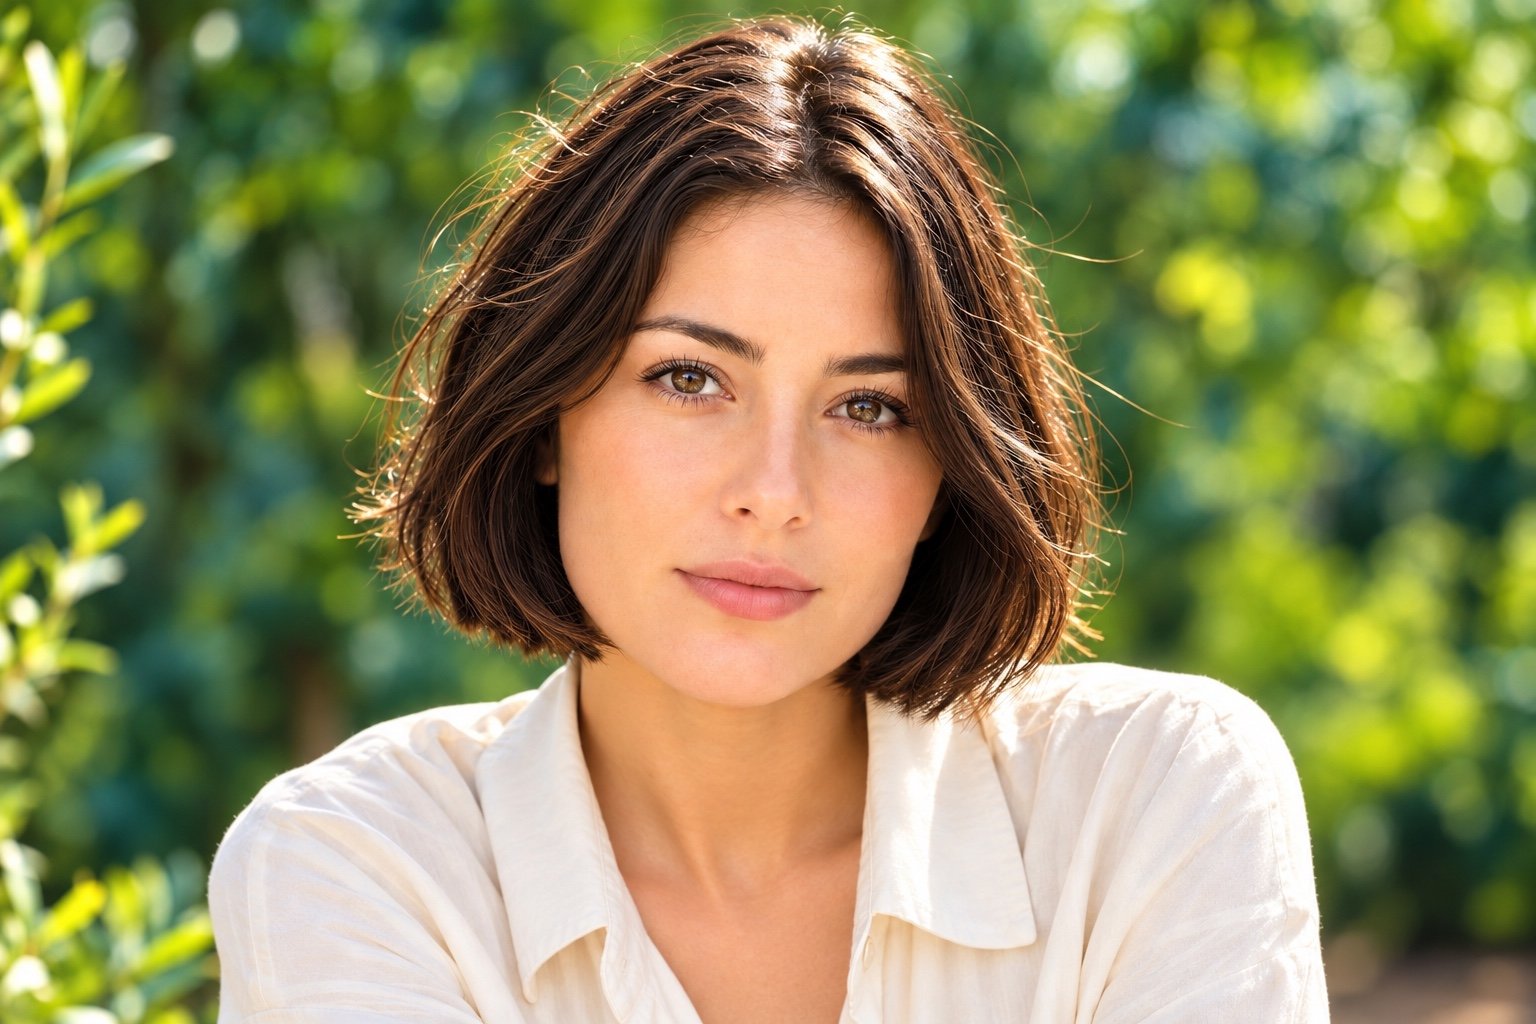 Original image
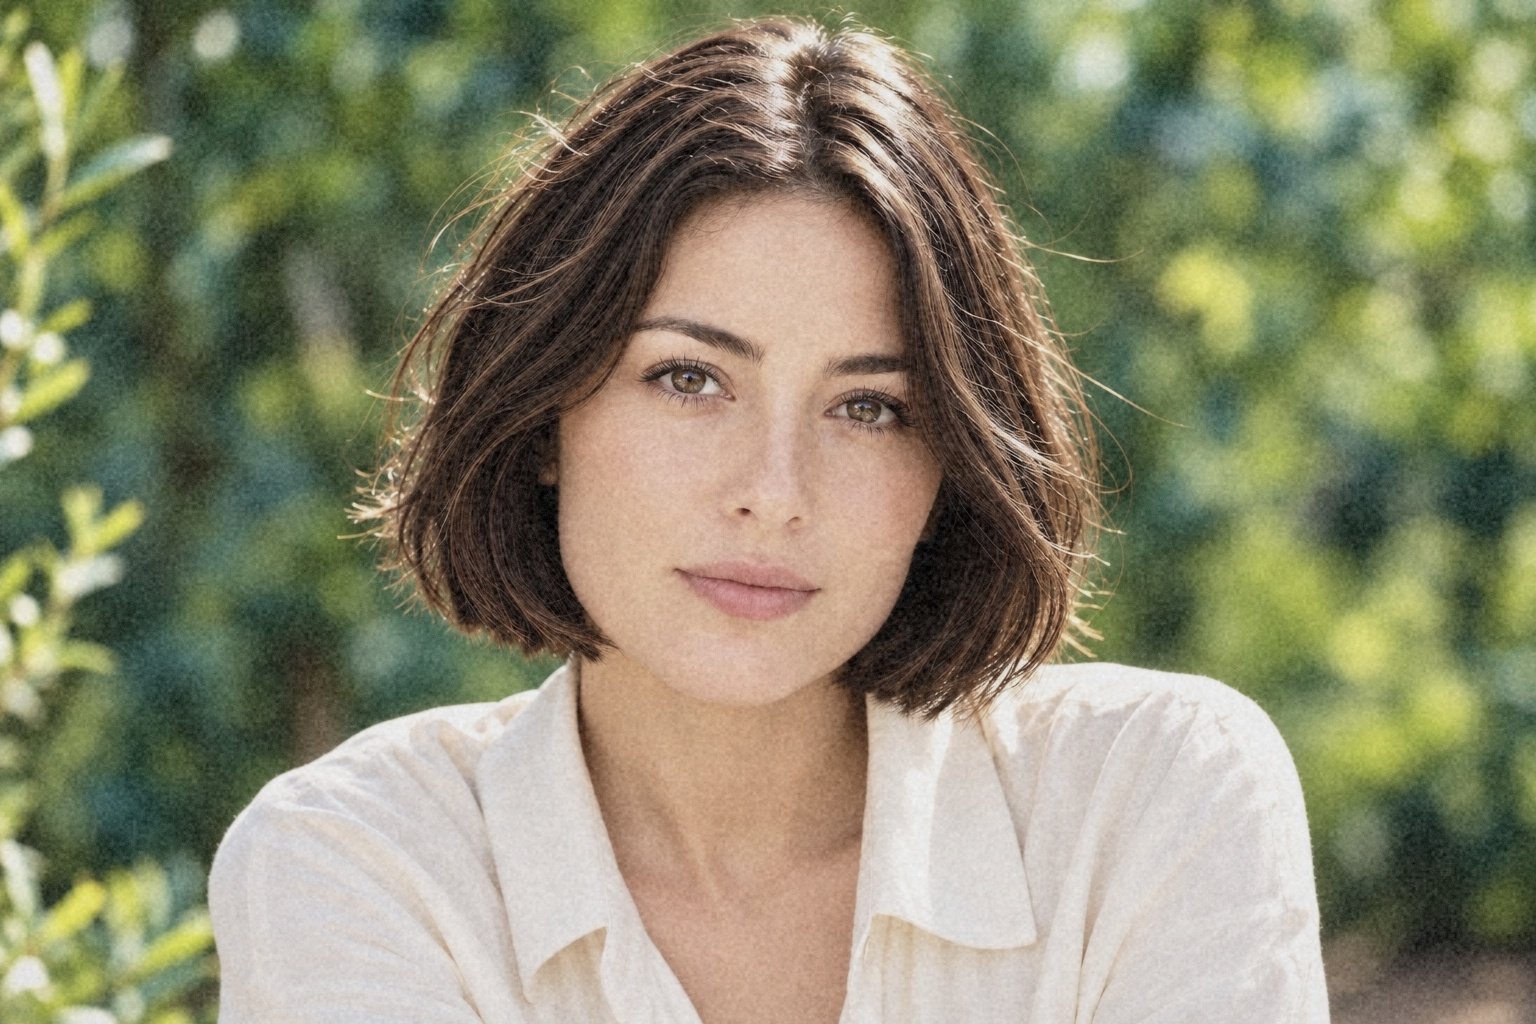 Natural · 70%
Check the final size, not just the preview.
Download once and inspect the JPEG at its intended display size. If hair loses definition, colours look grey or grain dominates the face, reduce intensity and export again from the original. Repeatedly processing the exported JPEG compounds softness and compression.